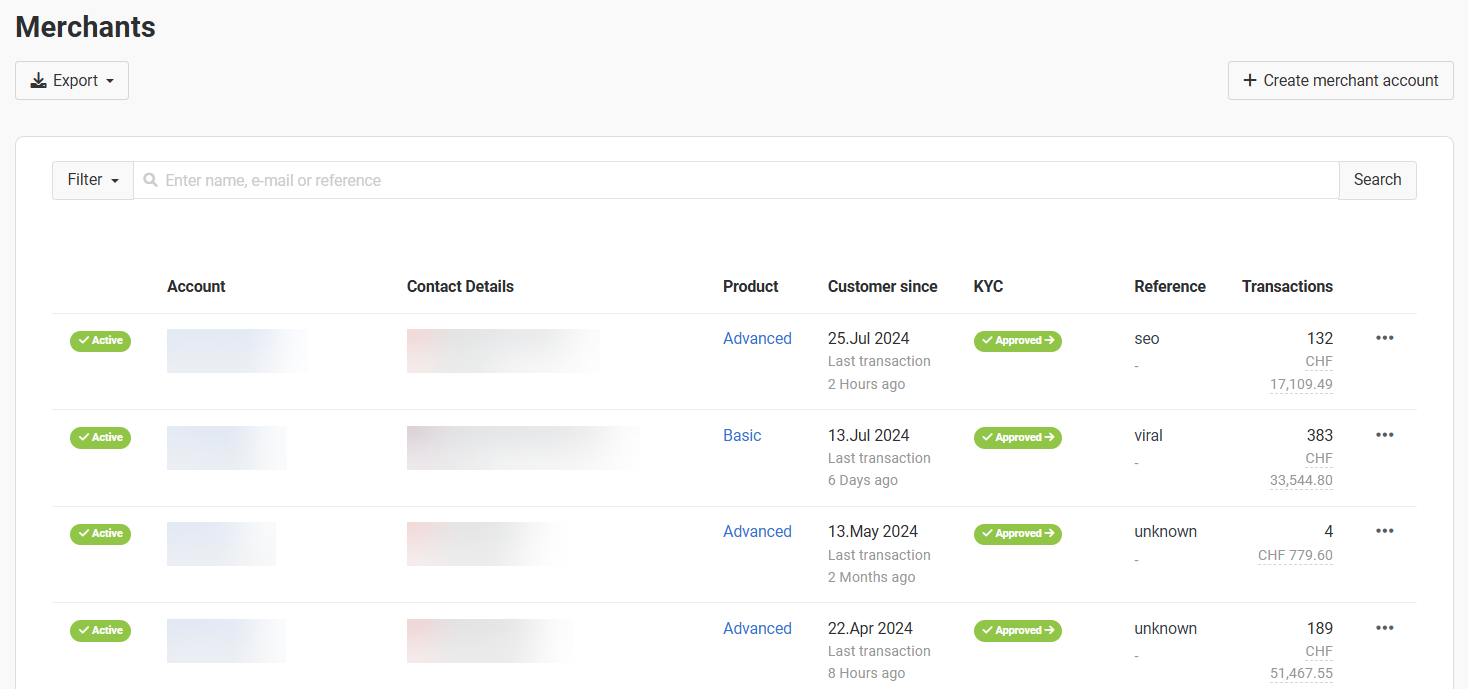
Overview of all merchants registered on the platform
Overview of all merchants registered on the platform

Exporting existing and creating new merchant accounts
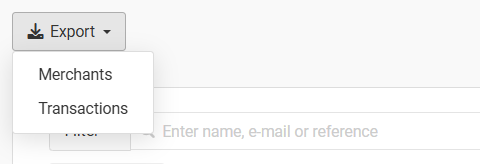
Exporting merchant and transaction data

Transaction data export settings
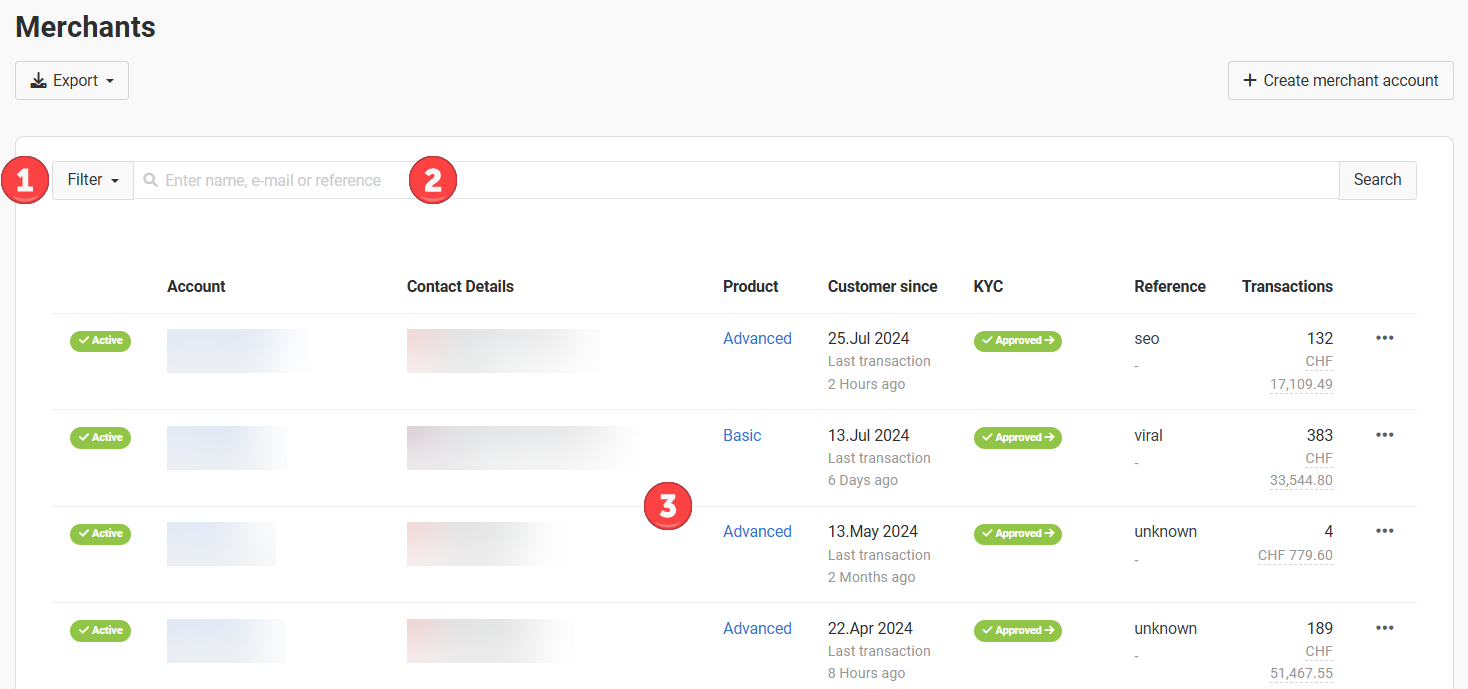
List of all merchants connected to your platform

Functions for editing merchant accounts
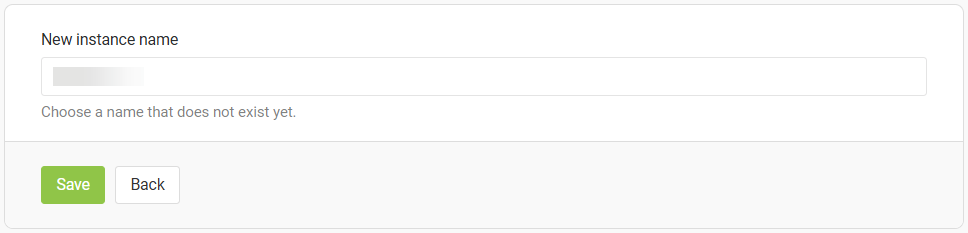
Changing the instance name of a merchant

Click "Change Subscription" to assign a new plan to the merchant.