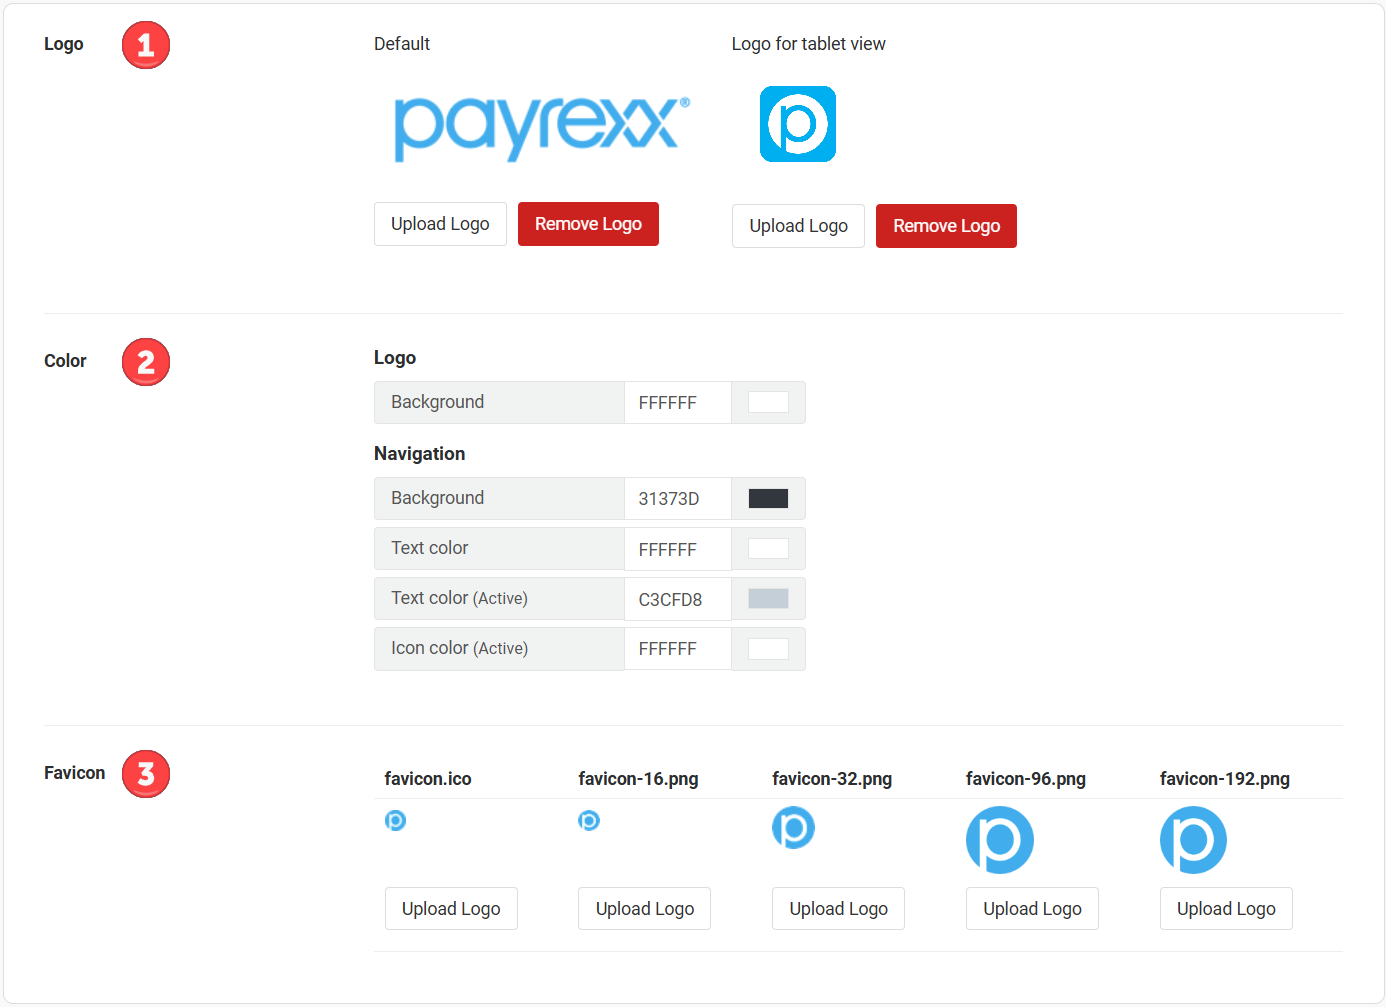
Settings for logo, colors, and favicon in the Payrexx platform administration
Settings for logo, colors, and favicon in the Payrexx platform administration

Settings for logos and colors of e-commerce tools in the Payrexx platform administration
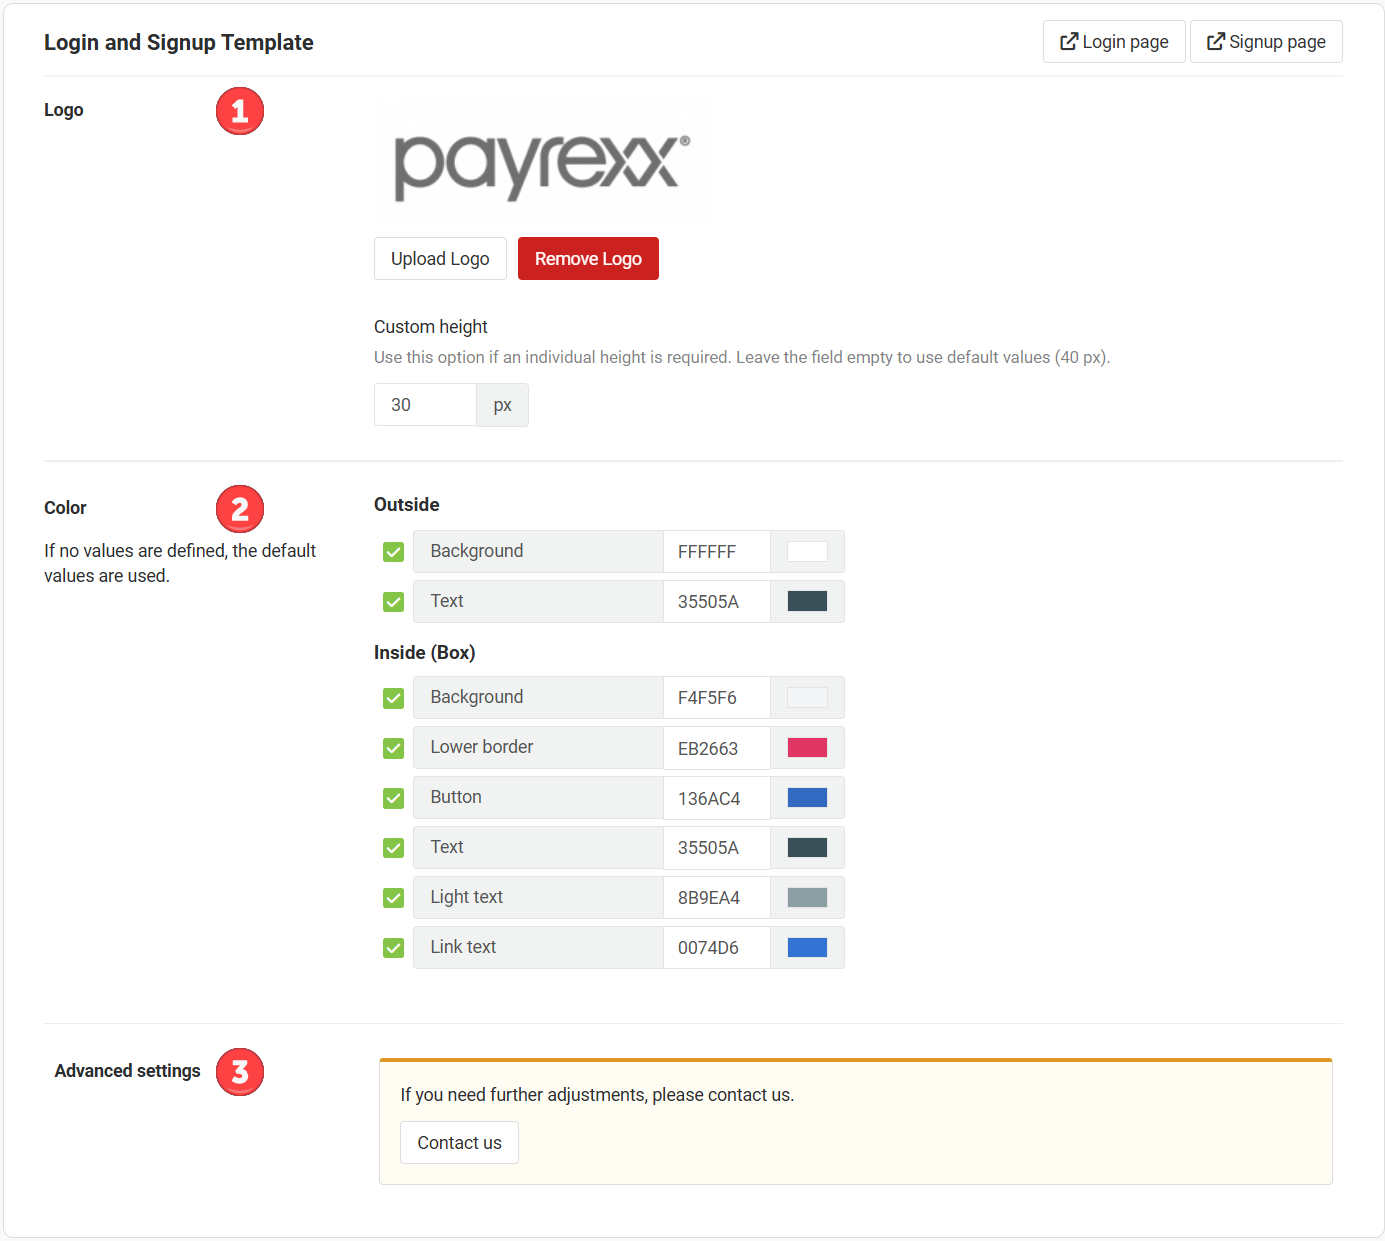
Settings for the login and registration page in the Payrexx platform administration
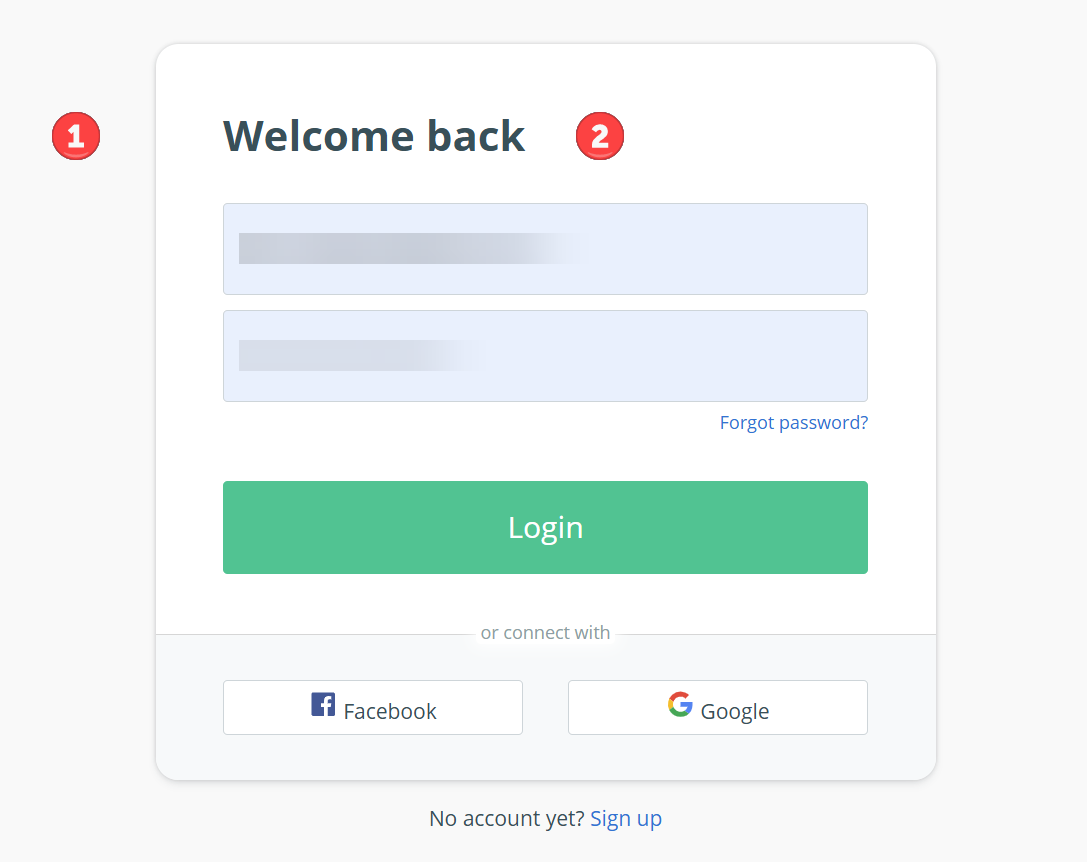
The Payrexx login page with its outer and inner area